How to Export an Order in 3Shape Dental Manager
If you’ve been asked to export your order from 3Shape, follow the steps below to complete the process correctly.
1. Create your order
Create the case as you normally would inside 3Shape Dental Manager.

2. Import your scans
Import the required scans or run your scanner software so the scans are attached to the order.
3. Export the order
Right‑click the order, go to the Advanced section, and select Export.

4. Choose export settings
In the popup window:
- Make sure you are under “Export complete 3Shape order.”
- Select File as the export option.
- Choose either the 2022 or 2021 3Shape order version.
- Click OK to generate the export.

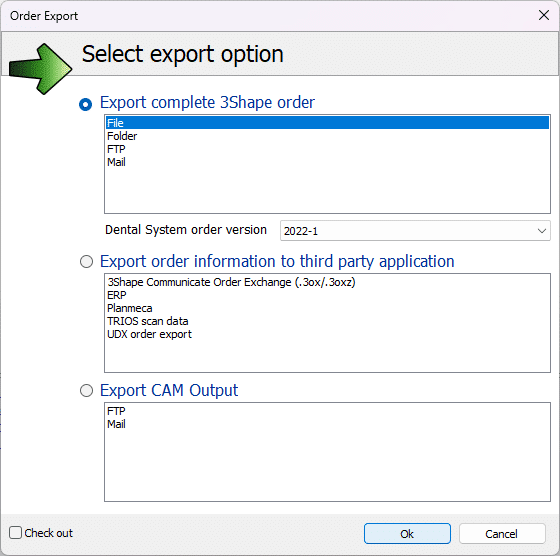
This will create a .ZIP file containing the full order.
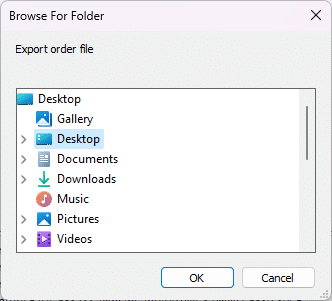
5. Save the ZIP file
After processing, choose where to save the file.
Saving to your Desktop is usually the easiest for quick access.
6. Upload the file to the CAE Dental Web Portal
Go to your case in the Web Portal and Drag and Drop or Select Files under the corresponding order.
7. Add your exported ZIP file
Drag and drop the exported 3Shape ZIP file into the upload area, or click the “+” button to add it manually.
Important:
Do not extract the ZIP file. Upload it exactly as exported. All contents inside the ZIP are required.
8. You’re done
Your export is complete. If you have any questions or need assistance, feel free to reach out.